

Laser Engraving

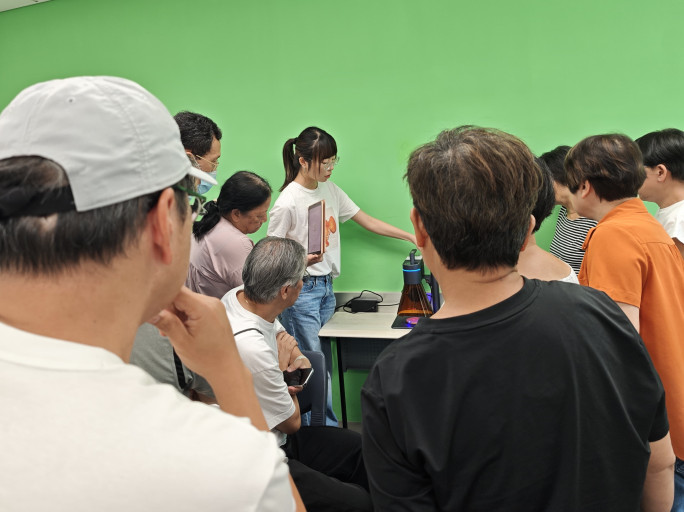
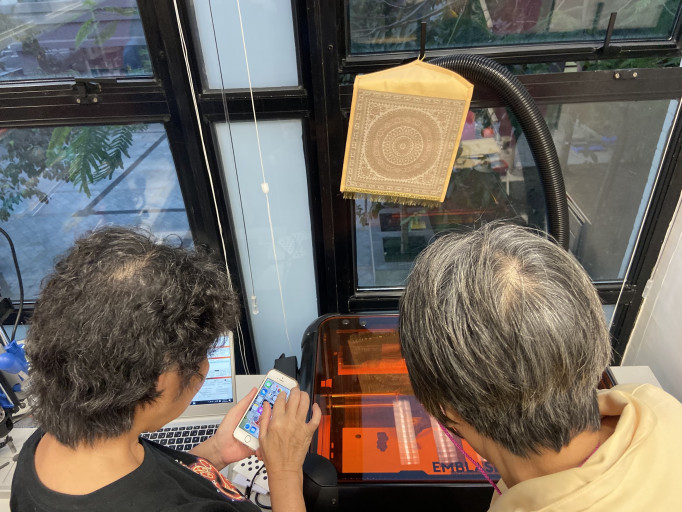
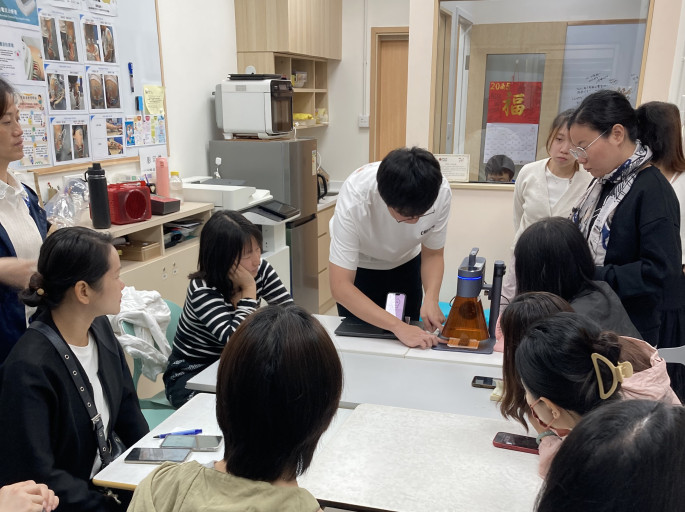
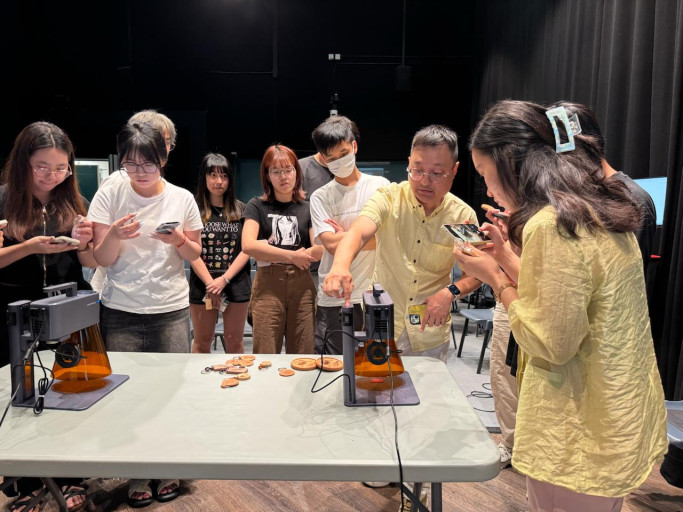
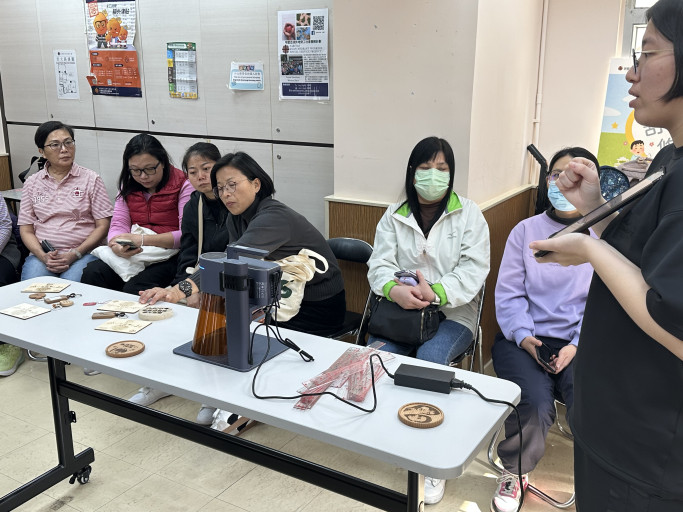
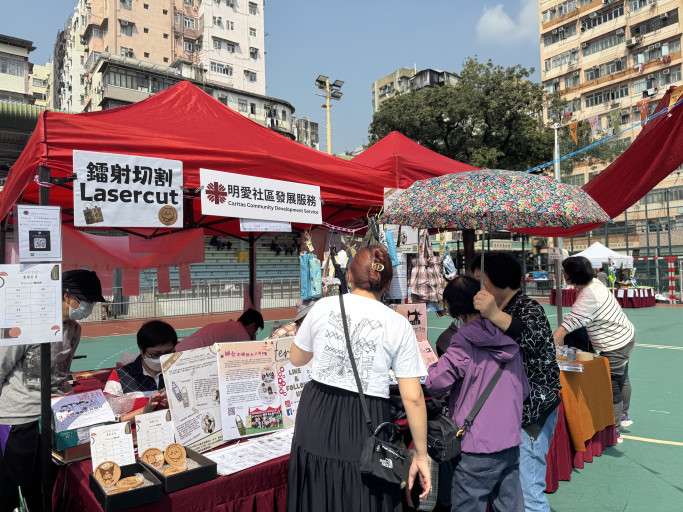
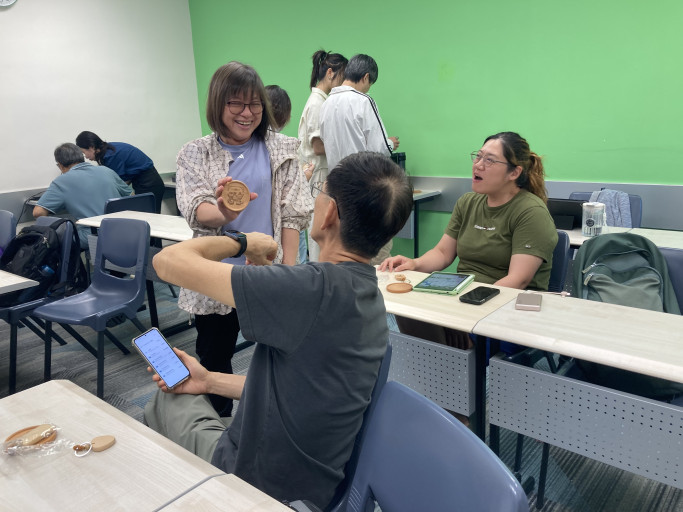
Laser Engraving Interactive Workshops provide a precise and artistic introduction to digital fabrication for community groups, including women's centres, elder academies, and social organisations. Through hands-on guidance, participants learn to design personalised patterns, text, or images and engrave them onto materials such as wood, acrylic, or leather. Whether creating customised coasters, name tags, decorative plaques, or meaningful gifts, the process blends creativity with technical skill, resulting in a tangible and professional-quality finished product. These workshops are also featured at community fairs and market booths, offering the public an engaging, hands-on glimpse into digital making.

Step 1: Utilise AI to Enhance Photos
Participants begin by selecting or taking a photograph—such as a personal portrait, a pet, or a meaningful landscape. Using AI-powered tools, they learn to enhance image quality by adjusting resolution, contrast, and sharpness, or converting the photo into a clean line drawing suitable for engraving. This step makes even low-resolution or imperfect images ready for precision laser work.
Step 2: Digital Design Creation
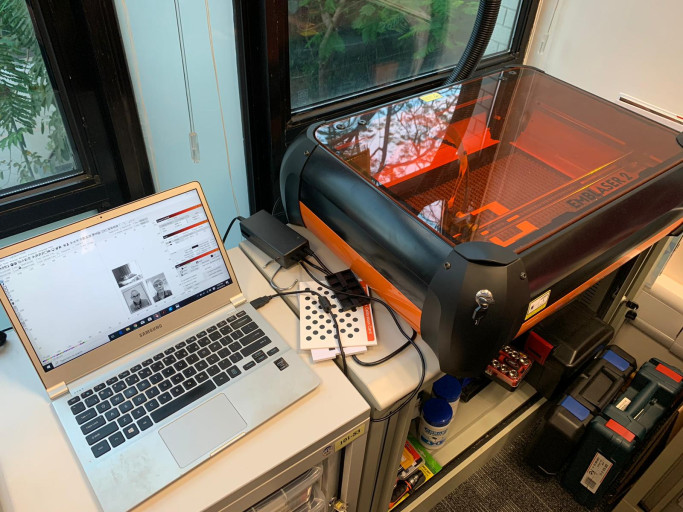
Using user-friendly software, participants import their enhanced images or create original designs from scratch. Key skills include:
Adding text, borders, or decorative elements
Adjusting size, position, and engraving depth settings
Previewing the design before engraving


Step 3: Machine Setup
Under facilitator supervision, participants learn to:
Position the material (wood, acrylic, leather, etc.) securely on the engraving bed
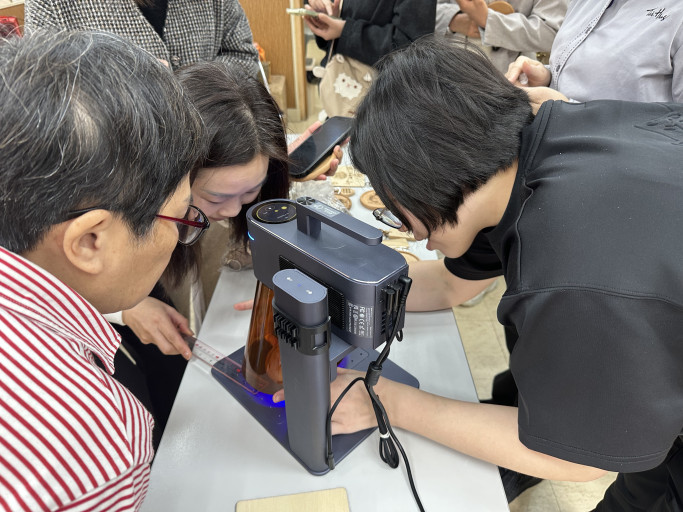
Adjust focus and alignment using the LaserPecker 4's precision controls
Select appropriate power and speed settings for the chosen material
Run a test engraving on a scrap piece to verify settings
Step 4: Engraving Process
Participants observe as the laser brings their design to life. The high-speed dual-light source system offers 8K precision, creating fine details on both metal and wood. The process is quiet, clean, and captivating to watch as the image gradually emerges on the material surface.


Step 5: Finishing
Each participant takes home a professional-quality, personalised item they designed and engraved themselves—a tangible outcome of their creativity and newly acquired technical skills.