

3D Printing & Modelling

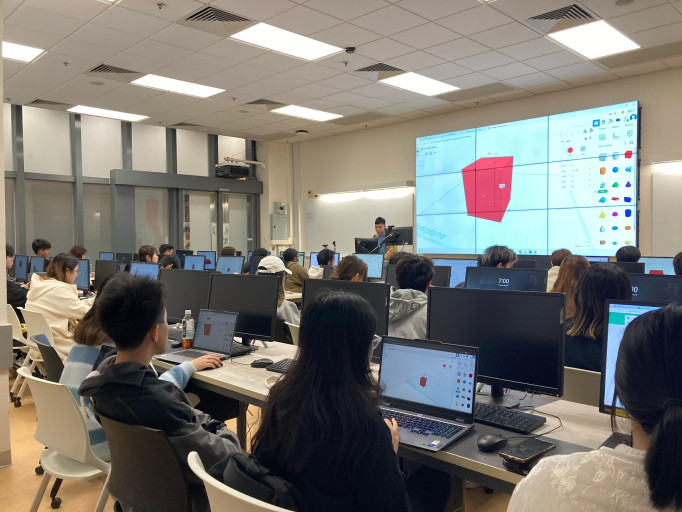
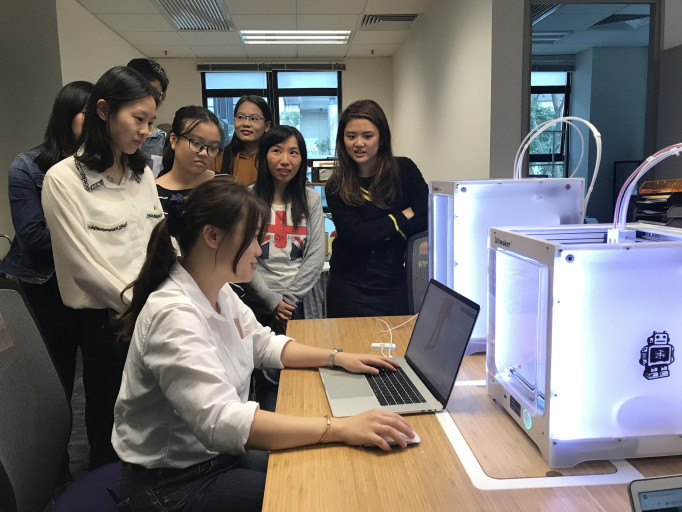
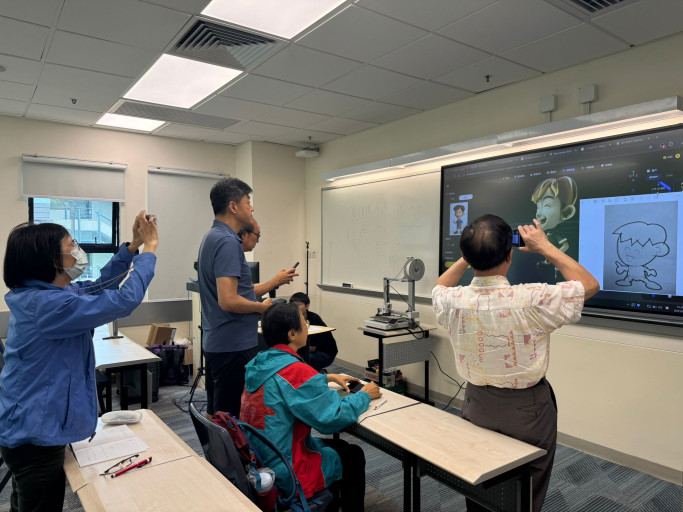
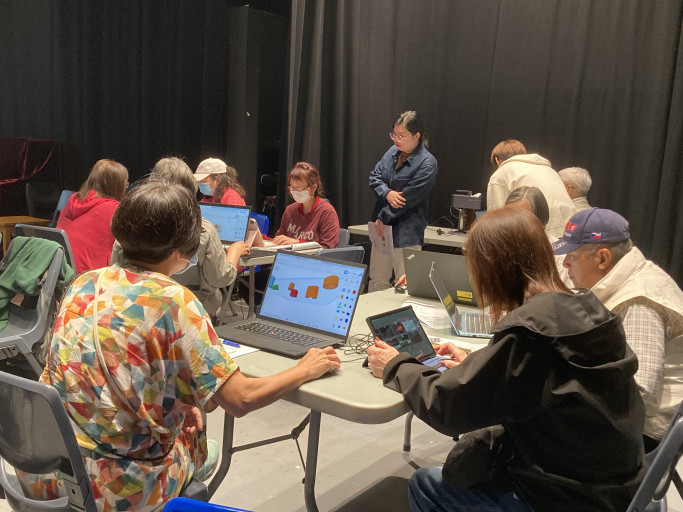
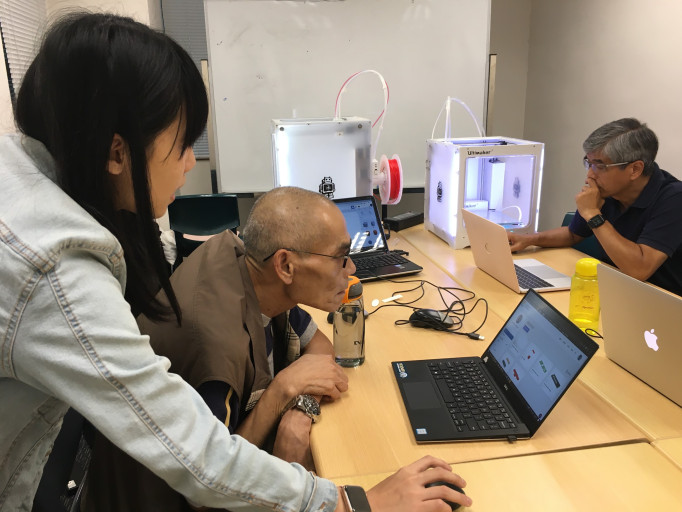
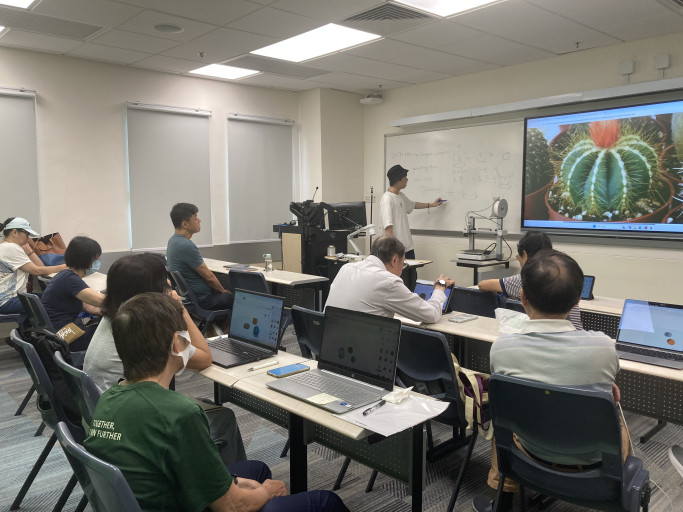
3D Printing and Modelling Interactive Workshops bring digital creativity and hands-on making directly to community members—from women's centres and elder academies to local organisations and social service units. Through guided sessions, participants learn to transform their ideas into tangible objects, designing and customising everything from personal accessories and practical tools to commemorative keepsakes. Our programmes are crafted to inspire creativity, build digital confidence, and foster a shared sense of achievement across generations.

Step 1: Idea Generation
Participants begin by identifying what they wish to create. This could be a practical household tool, a personalised gift, or an imaginative decorative piece. Facilitators encourage brainstorming and sketching to clarify the design concept.
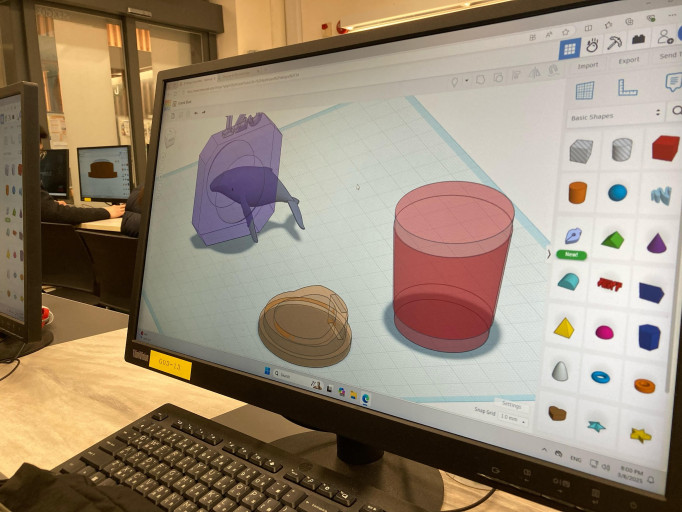
Step 2: 3D Modelling (Digital Design)
Using user-friendly software (such as Tinkercad), participants learn to transform their sketches into digital 3D models.


Step 3: Printing Preparation
The completed digital model is imported into slicing software, where participants learn to:
- Select appropriate print settings (layer height, infill, support structures)
- Choose filament material (PLA or ABS) and colour (White, Grey, Red, Blue)
- Preview the print path layer by layer
Step 4: 3D Printing
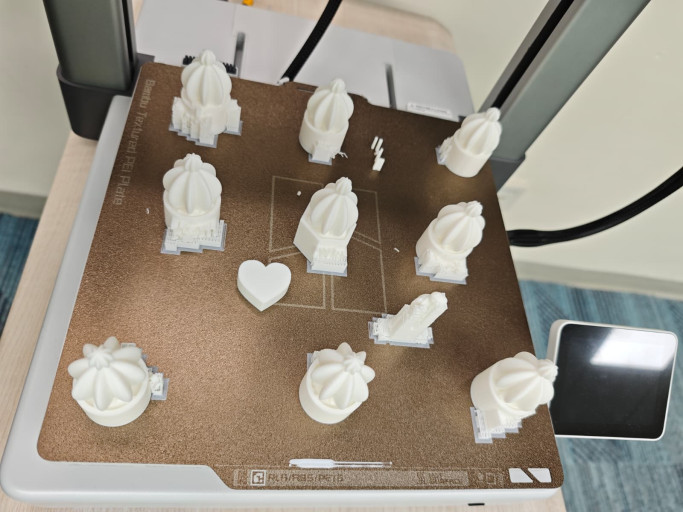
The printer brings the digital model to life. Participants observe the printing process, understanding how the machine builds the object layer by layer from heated filament.


Step 5: Post-Processing
Once printing is complete, participants learn finishing techniques:
- Removing support structures carefully
- Sanding rough edges for a smooth finish
- Assembling multi-part designs if applicable
Step 6: Colouring and Personalisation
The final step allows participants to add colour and personal touches using paints, markers, or surface treatments. This transforms the functional print into a unique, personalised creation.